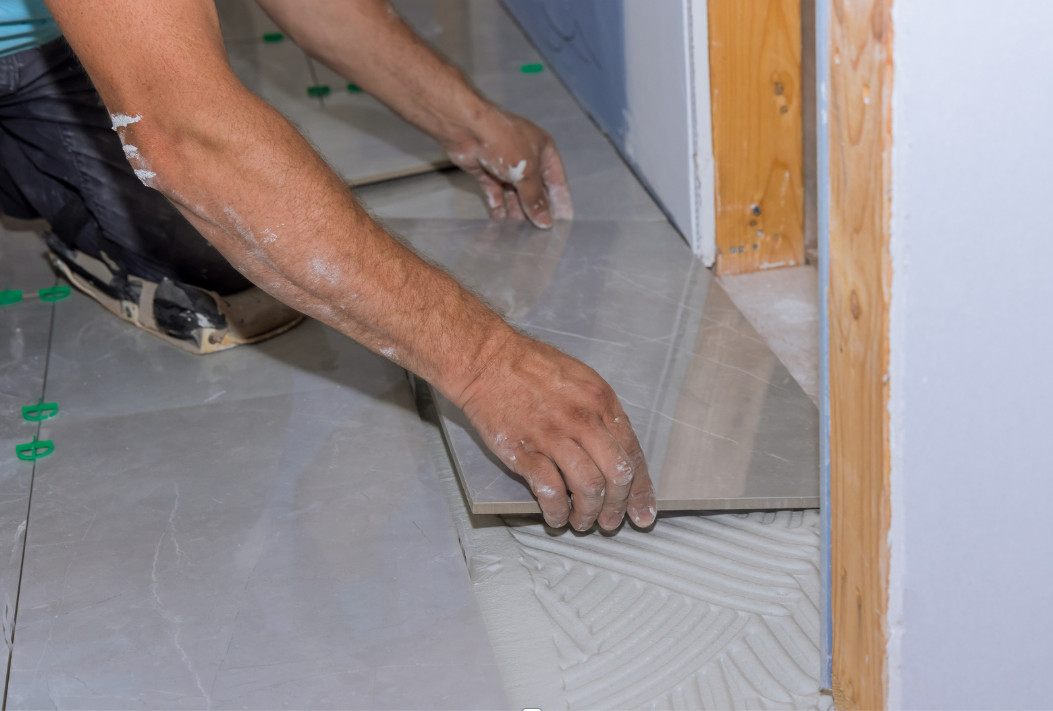


A professional tile installation follows a fixed order, and that order isn’t arbitrary. Substrate prep, layout, setting, cutting, grouting, cure, sealing, cleanup: each step waits on the one before it because of real cure-time chemistry, not scheduling convenience. Skip a wait time or rush it, and that’s the single most common way a tile job goes wrong. It’s usually invisible, too. Months can pass before a joint goes hollow or a corner lifts. This isn’t a how-to guide for doing the work yourself. It’s a plain explanation of what a crew is actually doing in your home at each stage, and how to tell it’s being done right.
What Happens Once You’ve Hired a Pro
Most guides to tile installation are written for someone about to do it themselves: which trowel to buy, how to mix thinset, how to hold a wet saw. That’s not this. If you’re at the point of deciding who to hire in the first place, our guide to choosing a tile contractor covers licensing, insurance, and the questions worth asking before anyone sets foot in your home. This post picks up after that decision. You’ve hired someone, or you’re close to it, and you want to know what’s actually going to happen: what the crew does first, what happens next, and why a step that looks finished on day one still can’t be walked on for another day or two.
That’s consistent with how Palm Coast Tile & Stone works. The owner is present from the initial estimate through the final walkthrough, and the company doesn’t use subcontractors, so the same person who scoped your project is generally the same person overseeing it through every stage below.
Inspecting and Prepping the Substrate
Nothing gets set until the surface underneath is checked. A substrate has to be structurally sound, clean, dry, and free of anything that would interfere with mortar bonding: old adhesive, dust, paint, or a surface that isn’t plumb, level, and square. Concrete slabs are commonly tested for moisture emission and alkalinity before tiling begins. Results outside the manufacturer’s recommended range mean remediation happens before anything else does. Wood subfloors typically need cement backer board or an uncoupling membrane installed first, since wood flexes in ways tile and grout don’t tolerate well.
This is also, practically speaking, the step that shows up as its own line item on a real quote. Our breakdown of tile installation cost in Palm Coast explains why substrate prep is priced separately from the tile itself, rather than buried inside a single per-square-foot number.
Waterproofing Showers and Tub Surrounds
A shower or tub surround needs a waterproofing membrane installed before tile goes down, not folded in later as part of sealing the grout. Per Schluter Systems’ own KERDI membrane FAQ, tiling can proceed as soon as the membrane is fully bonded at every seam, corner, and protrusion. Even so, a water test before tiling is standard practice. Sometimes a code official requires it outright. Schluter recommends waiting 24 hours after the membrane goes in before running that test, so the mortar bonding it has time to cure. Once tiling itself is finished, the same source calls for the mortar and grout in a wet-area installation to cure at least 24 to 48 hours before the shower sees real use.
For a room-specific look at how this fits into a full bathroom project, our bathroom tile installation page walks through the material and layout side of the same work.
Laying Out and Squaring the Room
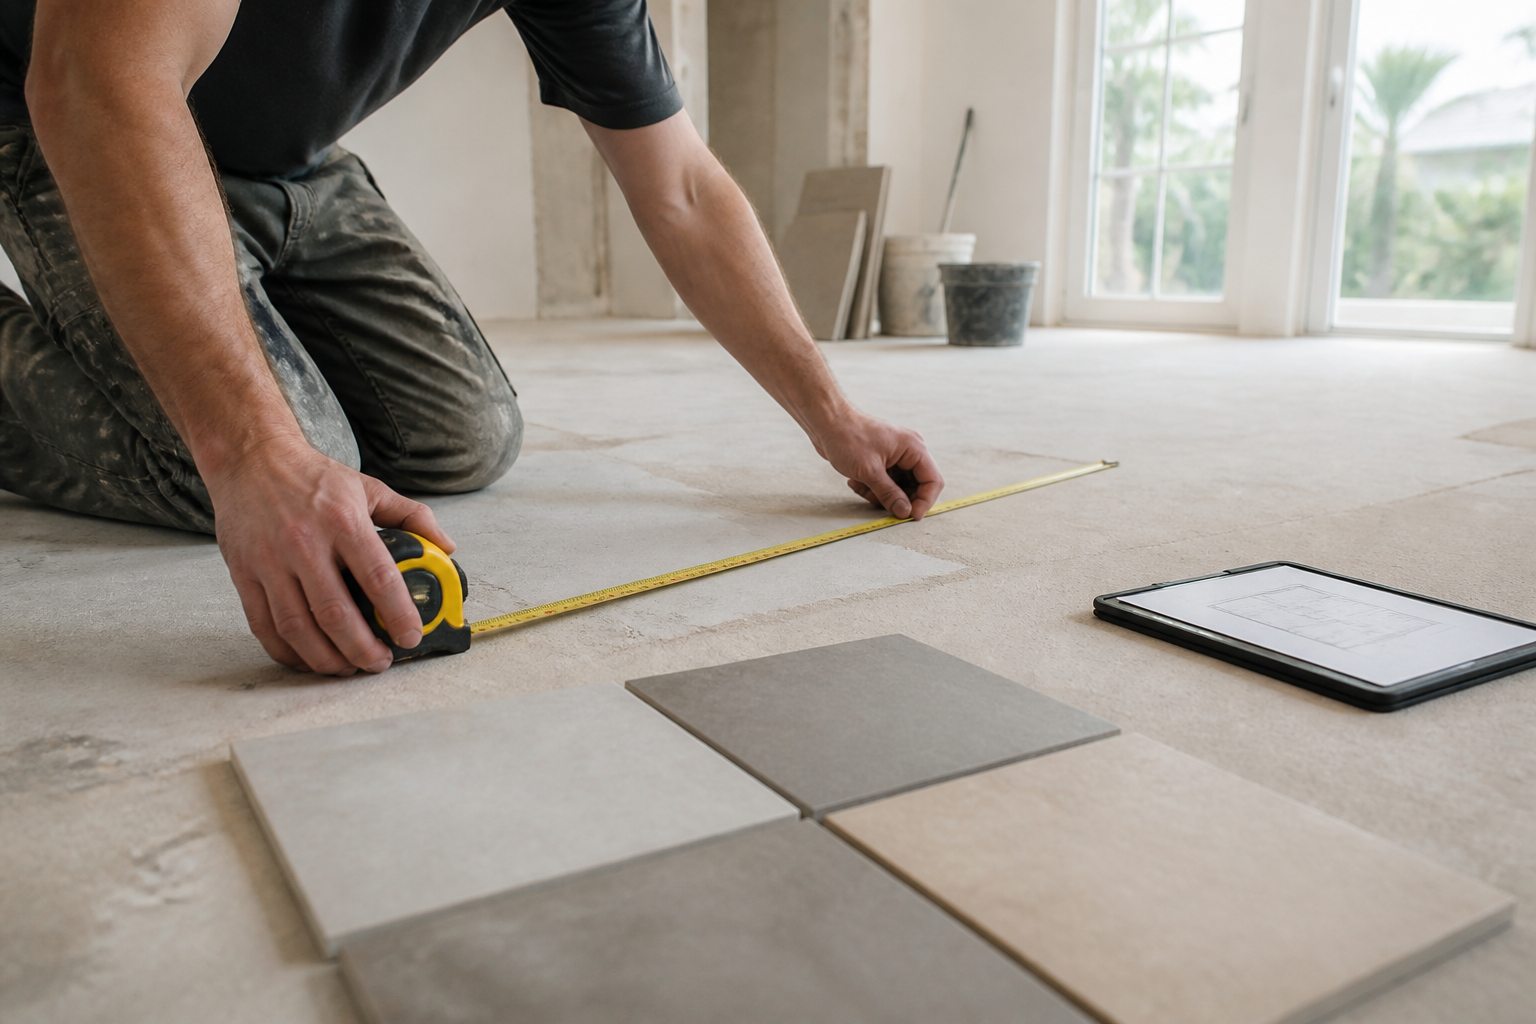
Before any adhesive goes down, a crew spends real time on layout. That’s easy for a homeowner to miss. It doesn’t look like progress yet, though it matters as much as anything that happens later. The common approach is the center-point method: measure opposite walls, snap perpendicular chalk lines through the center of the room, then dry-lay tile with spacers along those lines to check that the cut pieces landing at the edges aren’t thin slivers. Squaring a corner often relies on the 3-4-5 rule, already explained in detail on our contractor-vetting guide’s FAQ, so we won’t re-derive it here.
For large-format tile, layout also introduces the 1/3 offset rule: staggering joints by a third of the tile’s length instead of half. A half-offset lines up one tile’s high point with the next tile’s low point. That’s exactly the setup that maximizes visible lippage. A third-offset spreads that mismatch out and keeps it smaller.
Setting the Tile
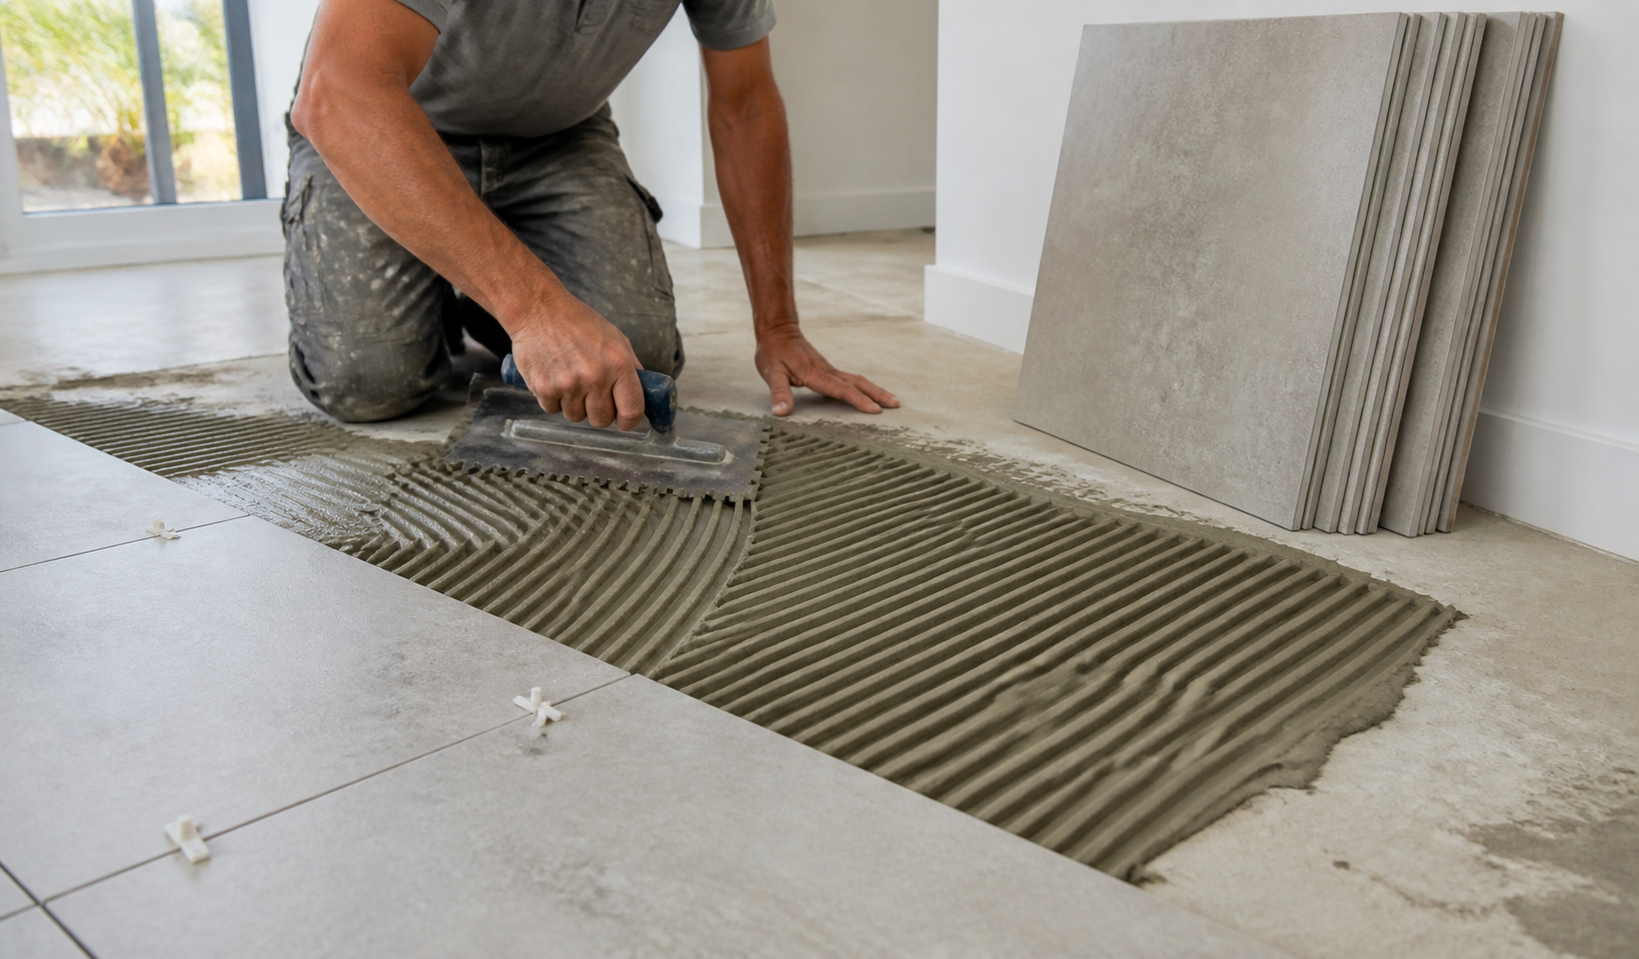
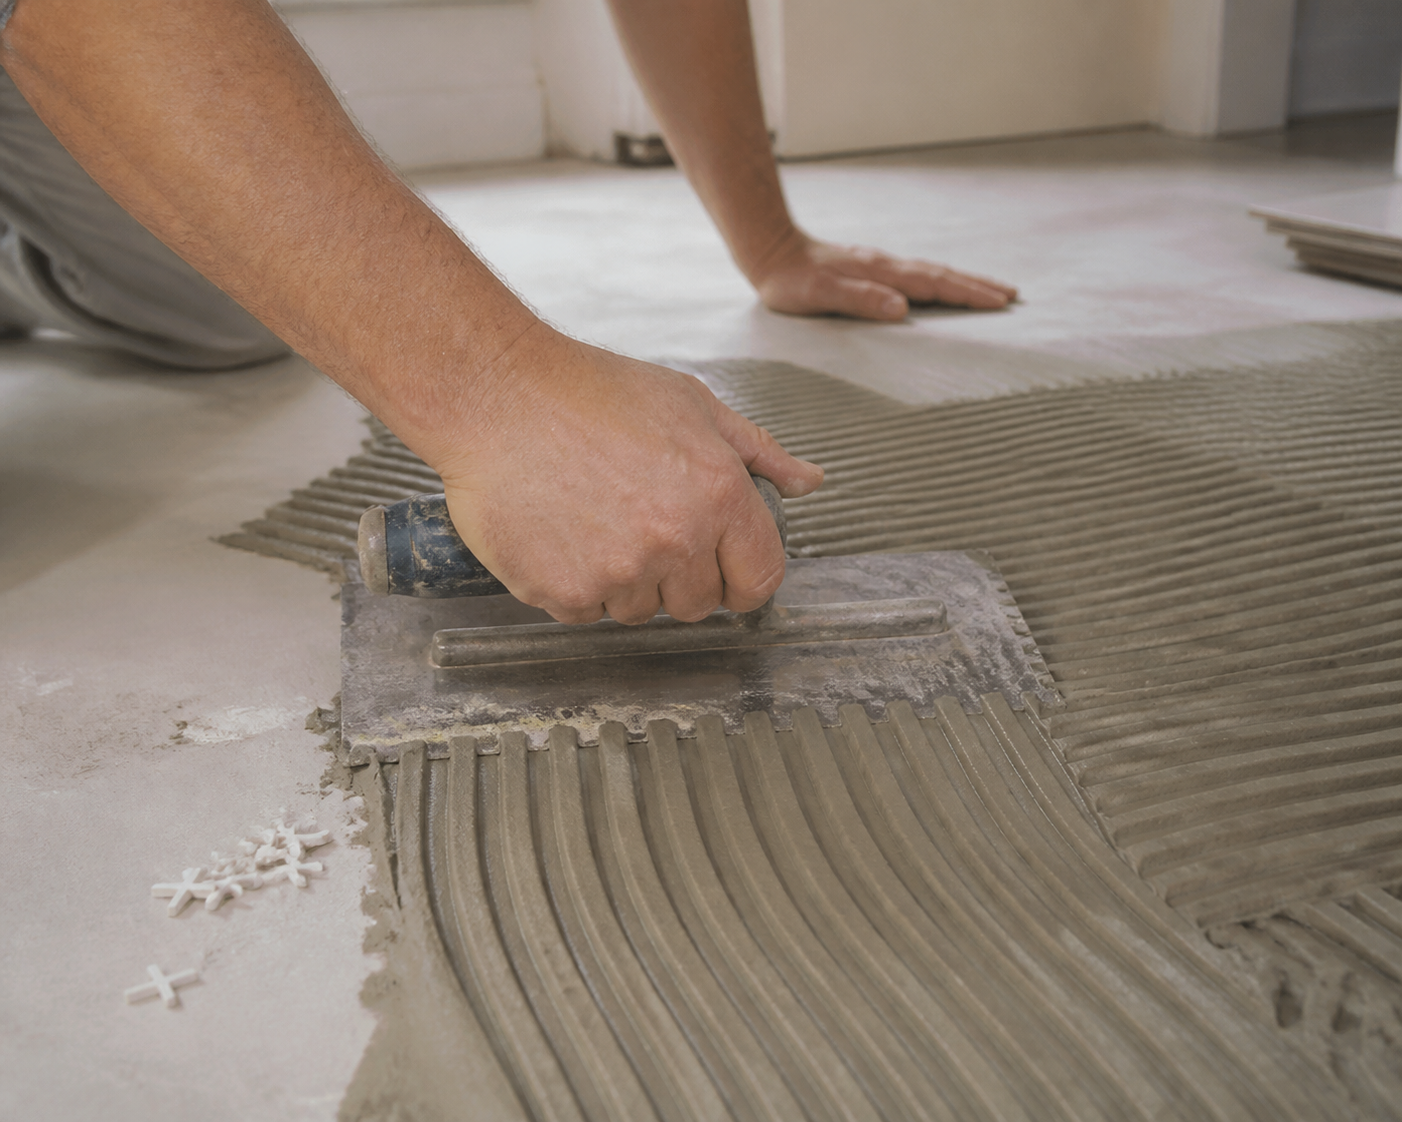
This is where most of the visible work happens. Thin-set mortar gets mixed to a “peanut-butter” consistency, spread with the flat side of a notched trowel, then combed into parallel ridges with the notched side held at roughly a 45-degree angle. That ridge pattern matters: it’s what lets the tile compress evenly into full contact instead of resting on a few high spots.
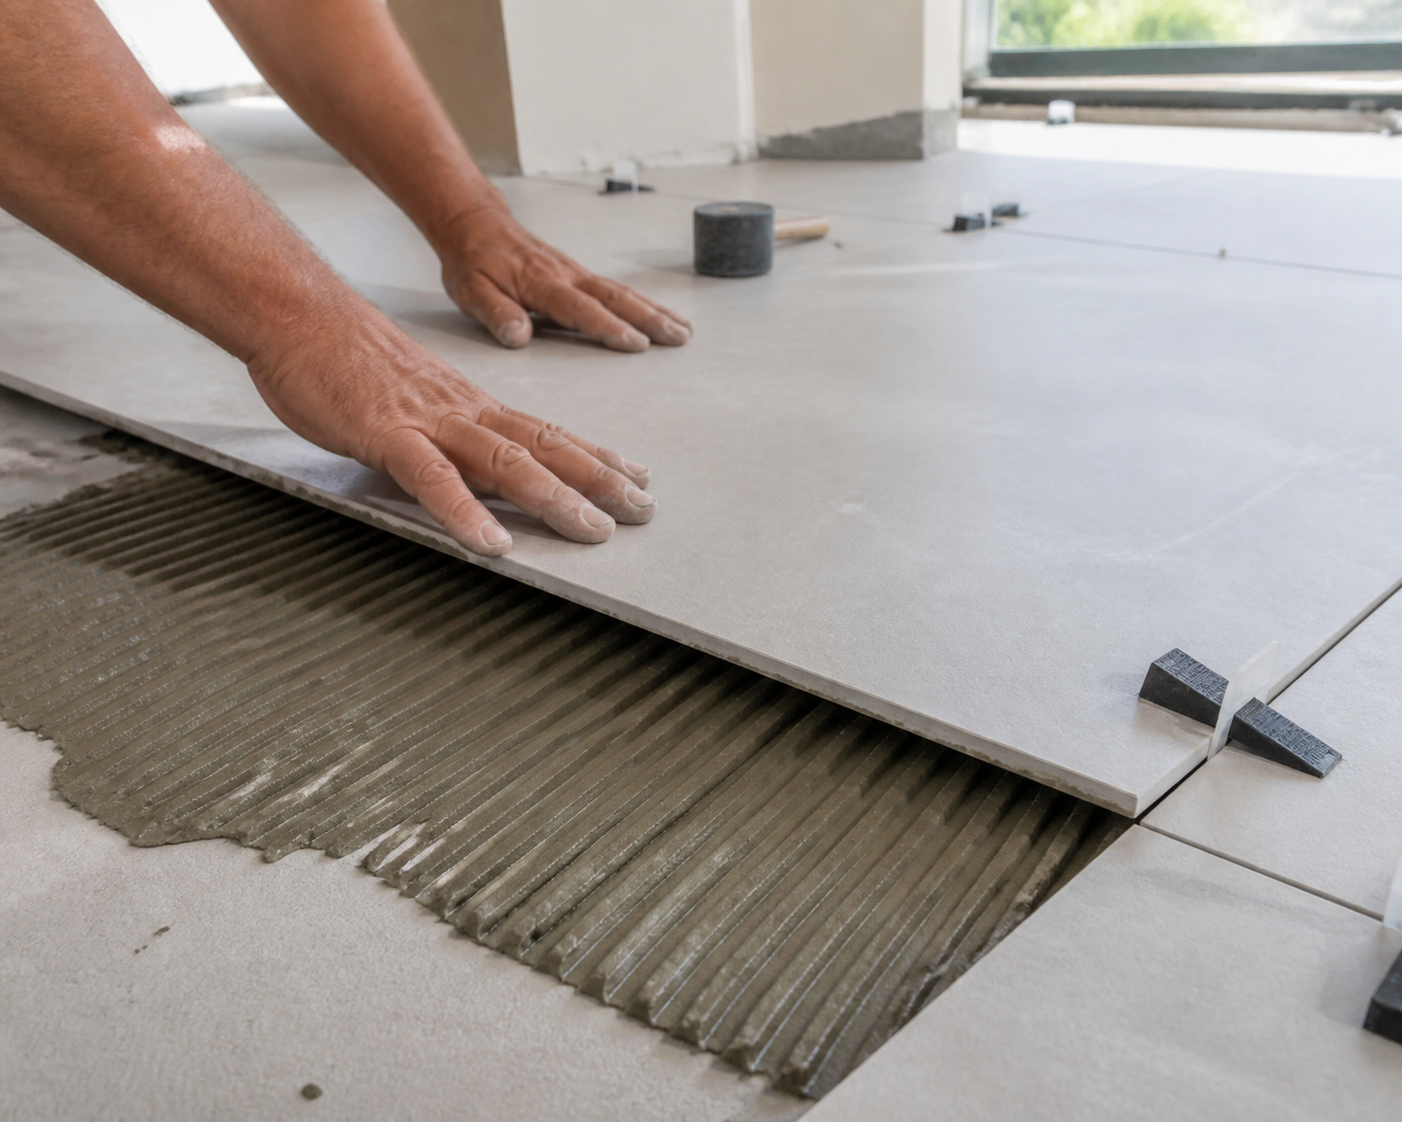
Any tile with an edge 15 inches or longer requires back-buttering, meaning mortar gets applied to the back of the tile itself as well as the substrate. That requirement traces to ANSI A108.02’s tighter tolerances for large-format tile: substrate flatness within 1/8 inch over any 10-foot span, versus 1/4 inch for standard-size tile, plus a minimum of roughly 95% mortar coverage on the tile and the surface underneath it. Back-buttering is the practical way to hit that coverage number. On a tile that large, gravity and trowel ridges alone won’t do it. Tile leveling clips and wedges are the standard tool crews use to keep joints even across a large run, which matters directly for kitchens, where large-format floor tile is common. Our kitchen tile installation page covers material choices that come up most often in that room.
Cutting Around Fixtures and Edges
Cutting is a shorter step, but it uses a range of tools depending on what’s being cut. A manual tile cutter scores and snaps straight lines cleanly. A wet saw or angle grinder handles curves, notches, and cuts around fixtures like toilet flanges or vents. Nippers take small bites out of a tile for tight, irregular curves that a saw can’t reach. Whether tile goes in before or after a toilet is pulled and reset depends on the specific fixture and the scope of the bathroom project, and it’s a reasonable thing to ask your installer about directly.
Grouting the Joints
Here’s the number worth remembering: standard thin-set mortar needs 24 hours to cure before grouting can begin. Rapid-set mortar cuts that to 3 to 4 hours. Premixed or mastic adhesive can require 24 to 48 hours instead. Three independent sources converge on the same 24-hour figure for standard thin-set: Daltile’s own installation instructions, a live Google AI Overview, and RUBI. That’s not a cautious guess. It’s the trade-standard minimum, because grouting before mortar has cured can shift tile out of place or leave weak spots underneath that go hollow later, sometimes not noticeably until months after the job is done.
This is a real, documented homeowner concern. It doesn’t stay confined to a technical footnote in a manufacturer’s manual. A contractor rushing this step to finish faster shows up repeatedly in homeowner complaint threads, and it’s one of the easiest steps for a homeowner to actually verify in real time: if grout goes in the same day tile was set, that’s worth asking about.
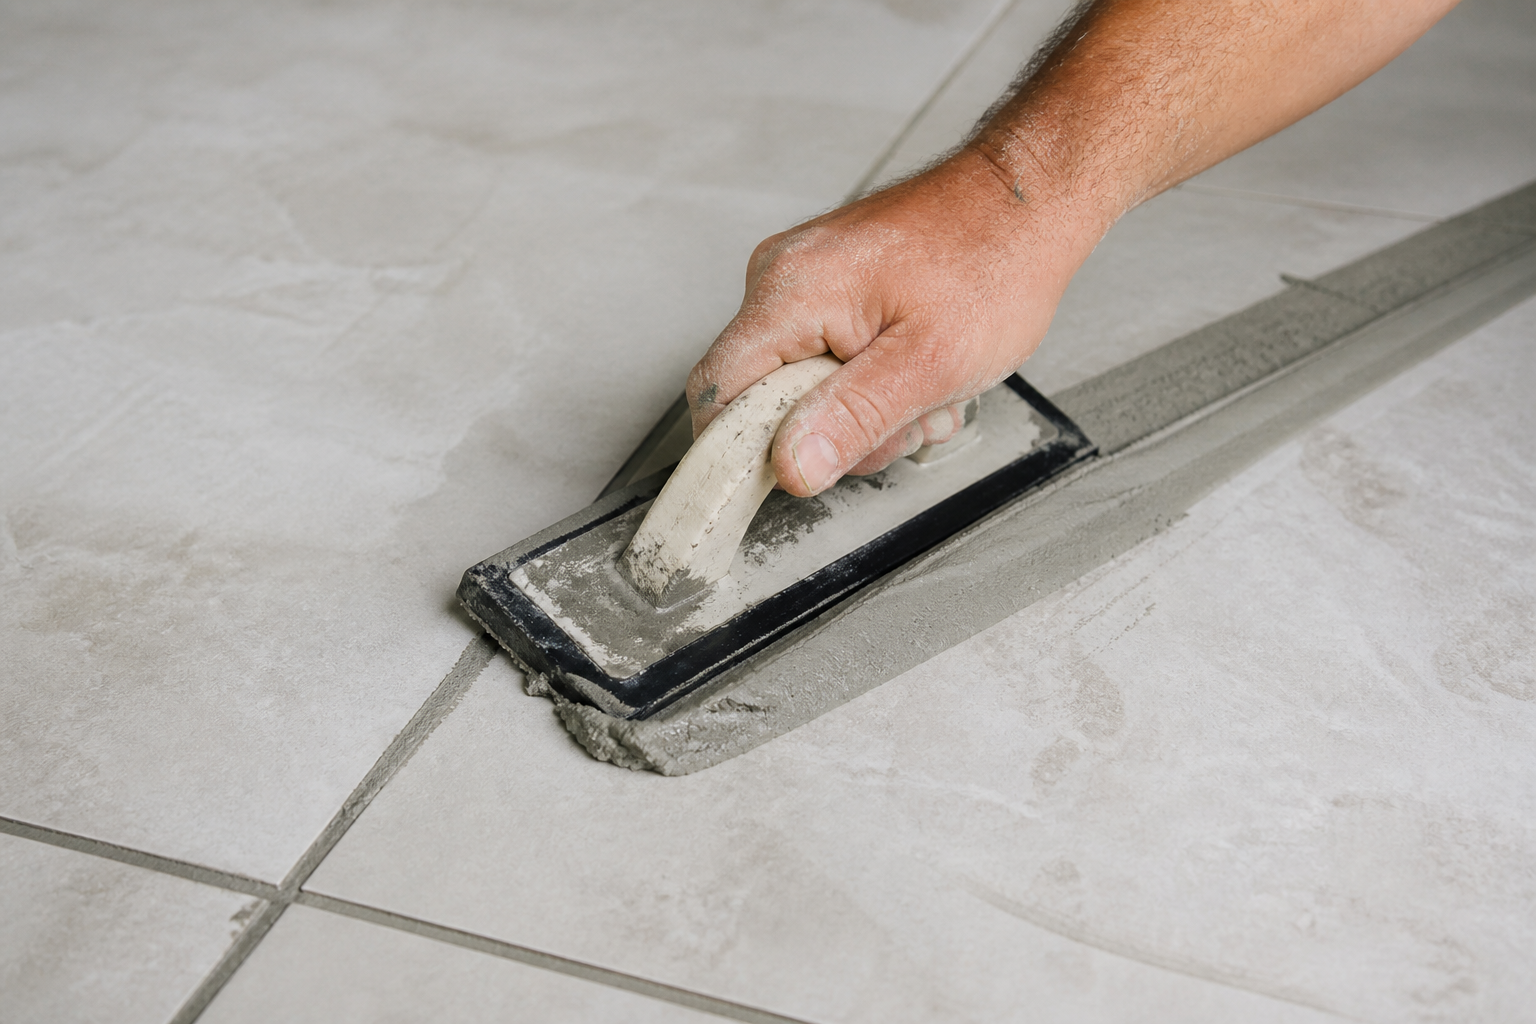
Once mortar has cured, grout gets applied with a rubber float held at roughly 45 degrees, pressed diagonally into the joints so it doesn’t drag tile out of alignment. Excess is scraped off at closer to 90 degrees, and the haze left behind gets cleaned with a damp sponge after 15 to 20 minutes, rinsed frequently so it doesn’t just smear the haze around.
If you’re at the point in a project where grouting is happening, you’re most of the way through. Request a free estimate if you’re still deciding who does this work in your home.
Sealing the Grout
Grout needs its own cure window before sealing, separate from the 24 hours it took to cure enough for grouting to happen. Five independent sources converge on 48 to 72 hours of grout cure time before a sealer goes on: a live Google AI Overview, MAPEI Home, tileclub.com, OUTERclé, and a Fine Homebuilding forum thread whose experienced tradespeople argue that longer is generally the safer choice. Glazed porcelain and ceramic tile itself typically doesn’t need sealing at all. Grout lines do. So does porous natural stone. After a sealer is applied, plan on roughly another 24 hours before water or heavy traffic touches the area.
Put together, the practical use timeline looks like this: no foot traffic for the first 24 hours after grouting, light traffic at 24 to 48 hours, and normal traffic and showering at 72 hours. Full cure, meaning all the curing chemistry involved has actually finished, comes at roughly two weeks. That’s sequence logic, not a project calendar: each number exists because the one before it has to finish first, not because a schedule says so.
Final Cleanup and Walkthrough
Once grout has cured, cleanup closes out the job: removing spacers and leveling clips, a final pass to clear any remaining grout haze, and clearing debris and material scraps from the work area. General professional practice at this stage also includes a walkthrough of the finished work with the homeowner, checking the room together before calling it done. That last part is where Palm Coast Tile & Stone’s positioning is most literal, not just a phrase: the owner is present from the original estimate through this exact final walkthrough, on every project, because the same person scoping the job is generally the one confirming it’s finished right. Same person, start to finish.
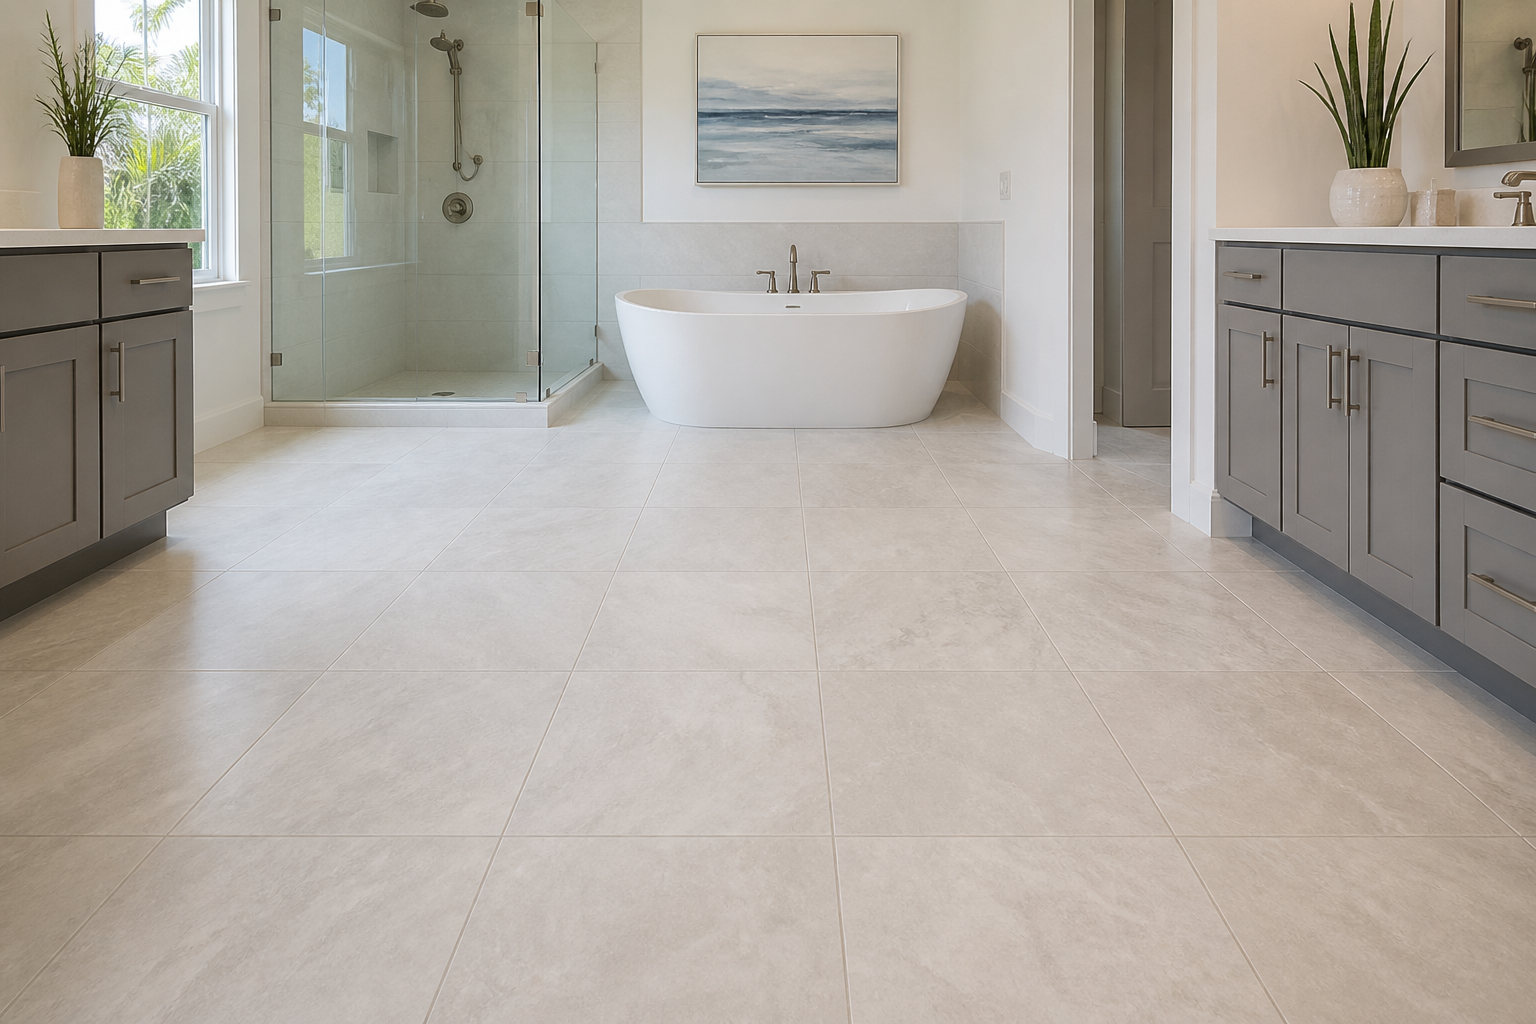
How Long Each Room Actually Takes
Every real cost or process source we reviewed answers “how long will this take” the same cautious way: it depends on square footage, substrate condition, and the material involved. A real estimate reflects the actual space, not a generic number. With that caveat up front, general industry ranges by room type look roughly like this: a bathroom floor alone typically runs 2 to 3 working days, a full bathroom with a shower and waterproofing runs 3 to 7 working days, a kitchen backsplash runs 1 to 2 working days, and a medium kitchen floor runs 3 to 4 working days. These are general ranges drawn from industry sources, not a Palm Coast Tile & Stone commitment to any specific project, and they move based on the same variables covered throughout this post. Living with the work in progress also means some dust and limited room access for the duration, which is worth planning around. A fuller breakdown of what day-to-day disruption looks like is planned as its own future post, since that’s a different question than the one this post answers.
The Standards Behind the Process
Every figure in this post traces back to a real standards body, even though almost none of the current search results for “tile installation process” or “what to expect during tile installation” name one directly. Not one names its source. The Tile Council of North America’s Handbook for Ceramic, Glass, and Stone Tile Installation and the ANSI A108 series of standards define the installation methods and tolerances referenced throughout this post, including the substrate flatness and mortar coverage figures in the setting section above. The Ceramic Tile Education Foundation (CTEF) and the National Tile Contractors Association (NTCA) are the industry bodies behind installer training and credentialing in this trade. Palm Coast Tile & Stone does not hold and does not claim any CTI, NTCA, or ACT credential here. These organizations are named as the authority the steps above are built against, not as an affiliation this business holds.
Frequently Asked Questions
What are the steps to installing tile?
In order: inspecting and preparing the substrate, waterproofing if the area is wet, laying out and squaring the room, setting the tile with thin-set mortar, cutting tile to fit edges and fixtures, grouting after the mortar has cured, sealing after the grout has cured, and a final cleanup and walkthrough. Each step in this post covers one of those in more detail.
What is the process of tile installation, and why does the order matter?
The order isn’t arbitrary. Each step depends on the one before it finishing, mostly because of cure-time chemistry: mortar has to cure before grout goes in, and grout has to cure before a sealer goes on. Doing them out of order, or rushing the wait between them, is the most common way tile work goes wrong.
How long does it take to grout after tiling?
Standard thin-set mortar needs 24 hours to cure before grouting, per Daltile’s own instructions, a live Google AI Overview, and RUBI, all converging on the same figure. Rapid-set mortar can shorten that to 3 to 4 hours. Premixed or mastic adhesive can require 24 to 48 hours instead.
How long does grout need to cure before sealing?
Roughly 48 to 72 hours, per five independent sources including a live Google AI Overview, MAPEI Home, and a Fine Homebuilding forum thread of tradespeople recommending the longer end of that range when in doubt.
How soon can you walk on tile after installation?
No foot traffic for the first 24 hours after grouting, light traffic at 24 to 48 hours, and normal traffic at 72 hours. Full cure, meaning all the underlying chemistry has finished, takes roughly two weeks, though the tile is usable well before that point.
How long should you wait to shower after tile installation?
For a shower or tub surround specifically, Schluter Systems’ own guidance calls for the mortar and grout to cure at least 24 to 48 hours before the shower is used, on top of the water test that’s standard practice before tiling even begins.
What is the 1/3 rule for tile installation, and when should it be used?
It’s a layout rule for large-format tile: stagger joints by a third of the tile’s length instead of half. A half-offset aligns one tile’s high point with the next tile’s low point, which maximizes visible lippage. A third-offset keeps that mismatch smaller and is the more common recommendation for longer or larger-format tile.
What is the 3-4-5 rule for tiling?
It’s a quick way to confirm a corner is truly square using the Pythagorean theorem: measure 3 feet one direction and 4 feet the other from the same corner, and if the diagonal between those two points measures exactly 5 feet, the corner is a true 90-degree angle. Our guide to choosing a tile contractor covers this in more depth.
What do you put down before laying tile?
It depends on the existing substrate. Concrete slabs get tested and prepped directly; wood subfloors typically need cement backer board or an uncoupling membrane installed first, since wood flexes in ways that would otherwise crack tile or grout over time.
What are common tile installation mistakes?
The three that come up most in this research: rushing the cure time before grouting or sealing, laying out a room without checking it’s square first (which shows up later as crooked cuts at the edges), and excessive lippage from skipping leveling clips on large-format tile. Each is covered in more detail in the sections above.
Should I install tile before or after the toilet?
It depends on the specific fixture and whether the project is a full bathroom renovation or a more limited scope. It’s a reasonable, specific question to ask your installer directly, since the right sequence depends on details particular to your bathroom.
Closing
Palm Coast Tile & Stone has been a family-owned tile, stone, and flooring contractor serving Palm Coast and the surrounding Northeast Florida area since 2007. The owner is involved from the initial estimate through the final walkthrough on every project, and the company doesn’t use subcontractors, which is part of why the sequence above isn’t theoretical: it’s how Palm Coast Tile & Stone approaches the work.
If you’d like to talk through a project, request a free estimate.
You can also call Palm Coast Tile & Stone at (386) 393-1166.
Read more about how we work on our about page.